maazreef
Member
Follow me on my return.
3 years ago after my divorce I lost inspiration for everything. Today I am back on my feet and I am more inspired than ever. I am a dad again and started a new life next to someone who apreciate me. This tank is dedicated to her and my unborn baby. Thanks to all my friends on here that have helped make this happen. You guys have inspired me again and that is why this is possible again. This tank is a 45 CUBE that i purchased from someone on here - thank you for the awesome tank. Tank is 23"×23"×19" Stand is 24"×24"×36". She also gave me a 15 gal tank to use as a sump.
EQUIPMENT
Eheim Compact 1000 return pump
JSN W1 Protein Skimmer
KENT Reactor
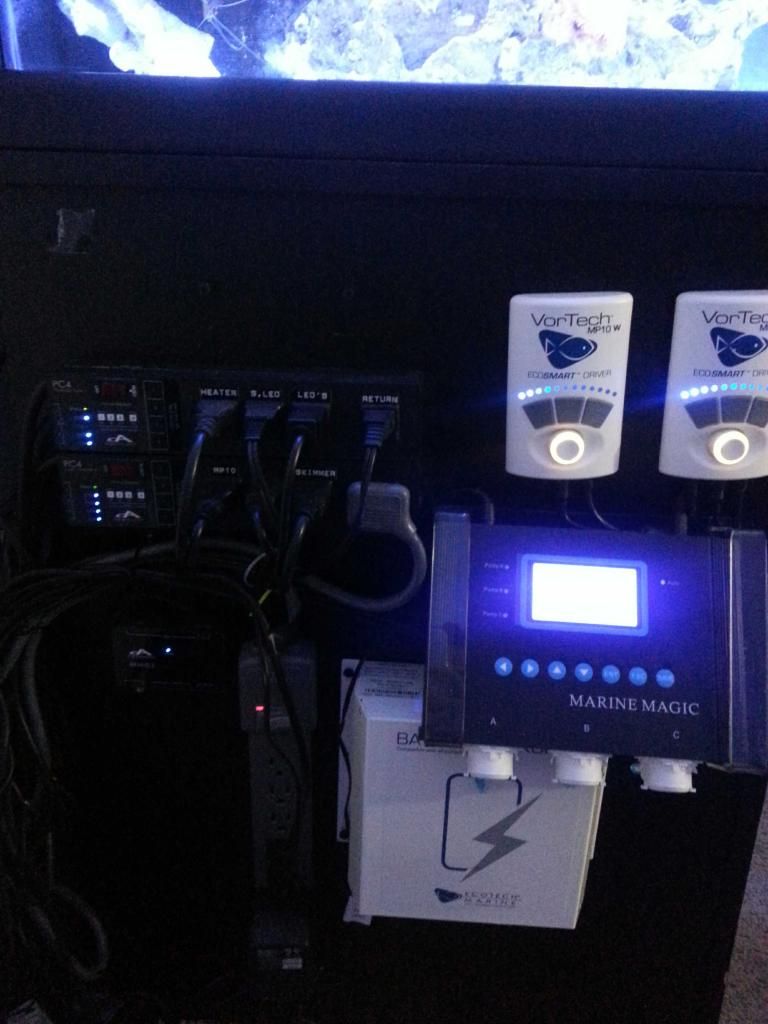
2 × MP10 ' S
Marine Magic Doser 3 heads
ATO Top off
Aqua lifter Pump
Apex System Standard Temp/PH
Eheim Heater
Kessil A360 WE Tuna Blue
Kessil Spectra Controller.
Last edited:


