Eric's Red Sea XXL 750

ESH

Premium member
Here is my new build thread for my RedSea Reefer XXL 750! I currently have a 90gl that I've had up and running for over a year now. Love the tank, but after a year of lugging buckets up the stairs, a few water spills, and a loud overflow, I decided I had enough of a reason to build out a new system. Most everything except the sand from the 90 will be going into the new tank.
All photos of this build are housed here: https://www.flickr.com/photos/28823275@N06/albums/72157704166244844

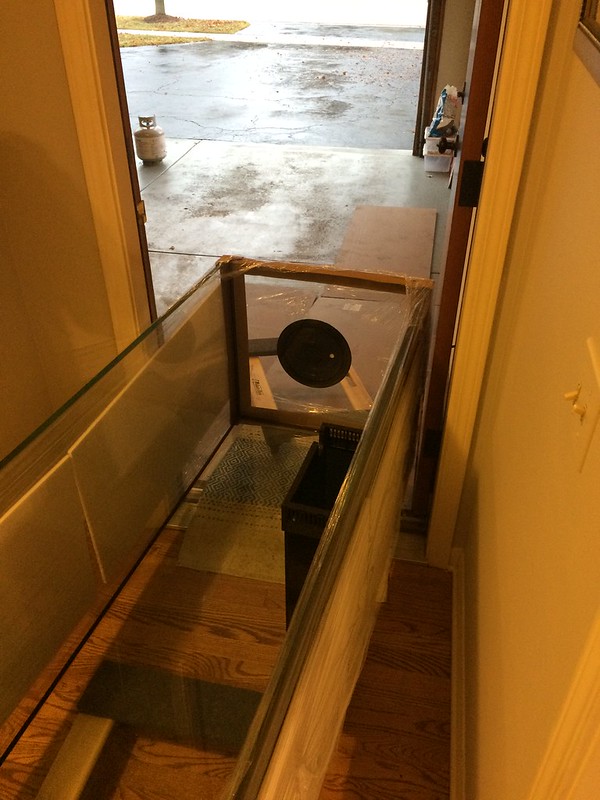
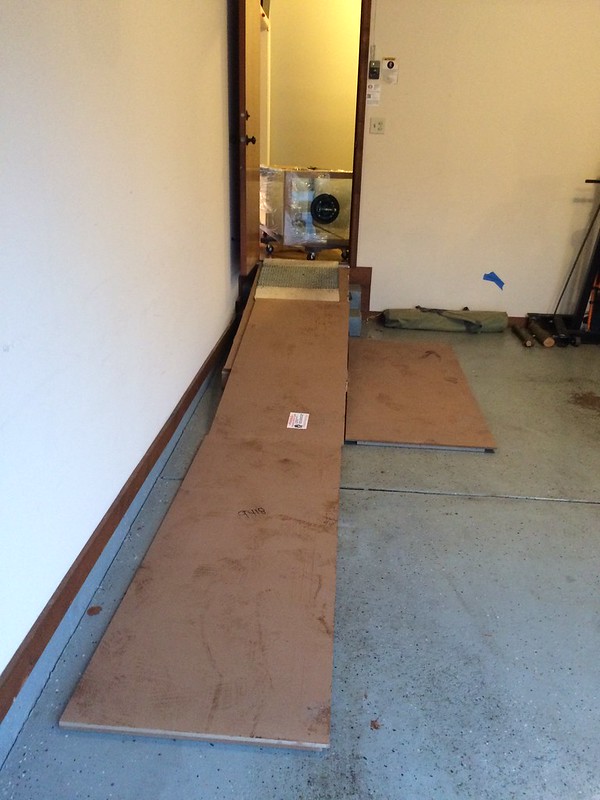
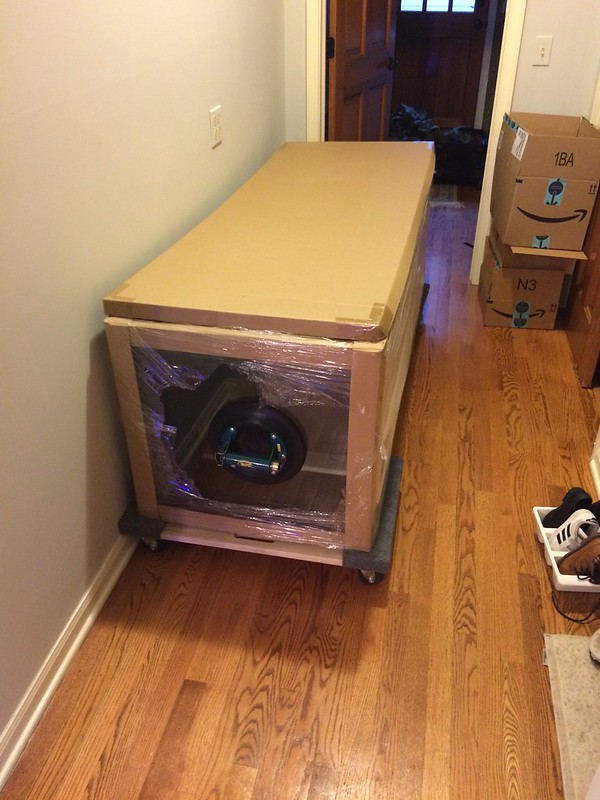
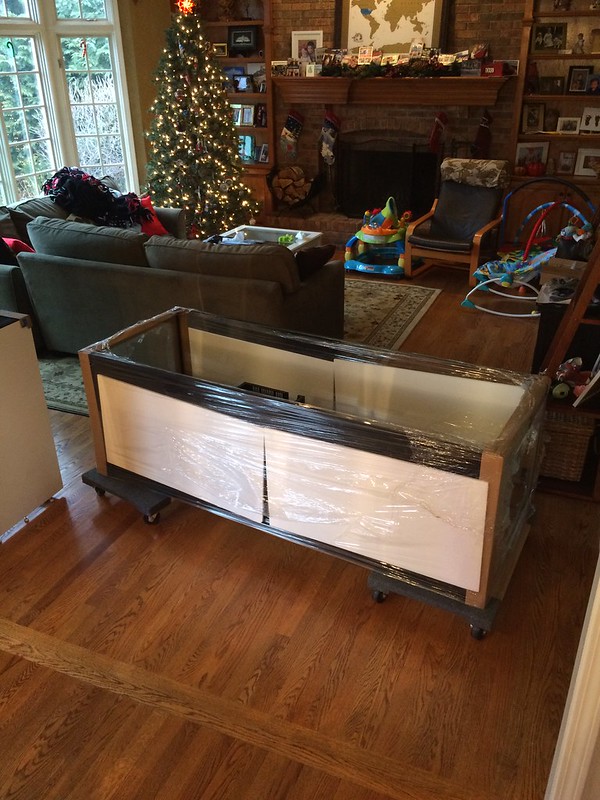
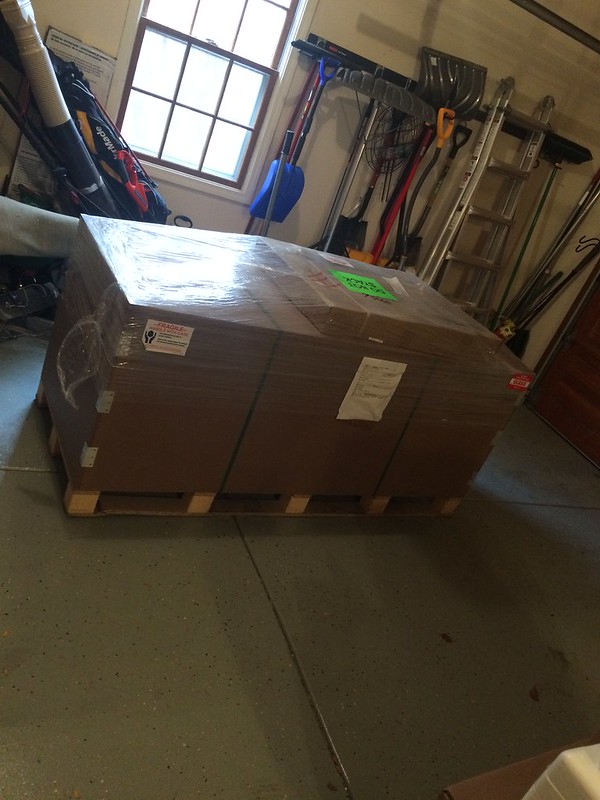
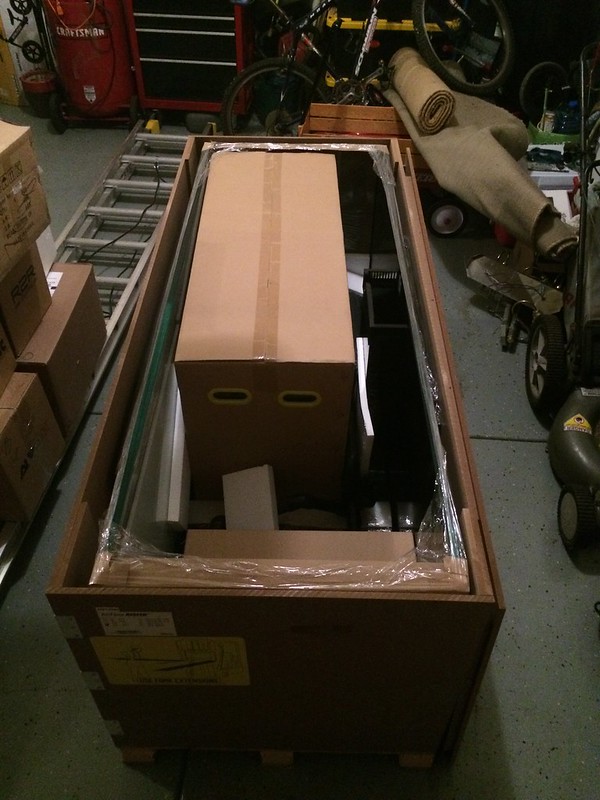
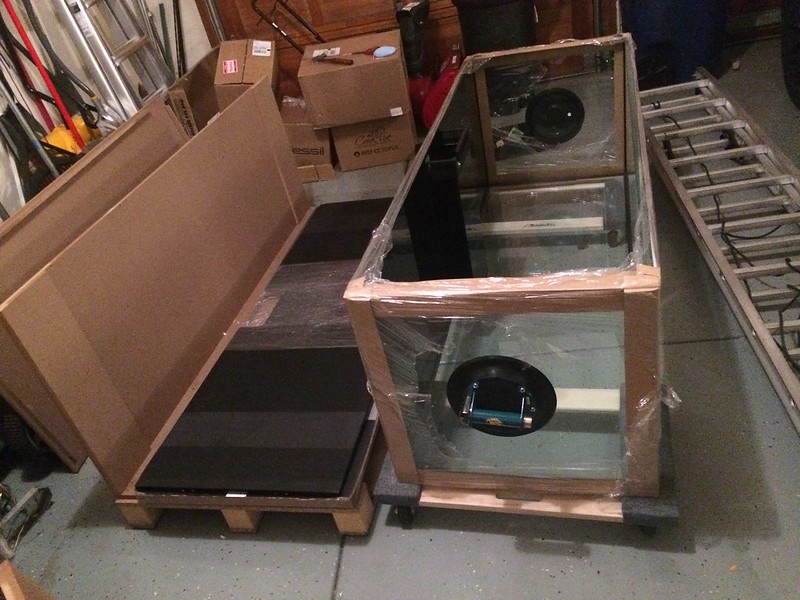
Tank came in last week and is currently in my garage on moving dollys (each supports 800lbs, if I had a ramp I could push this in the house myself)


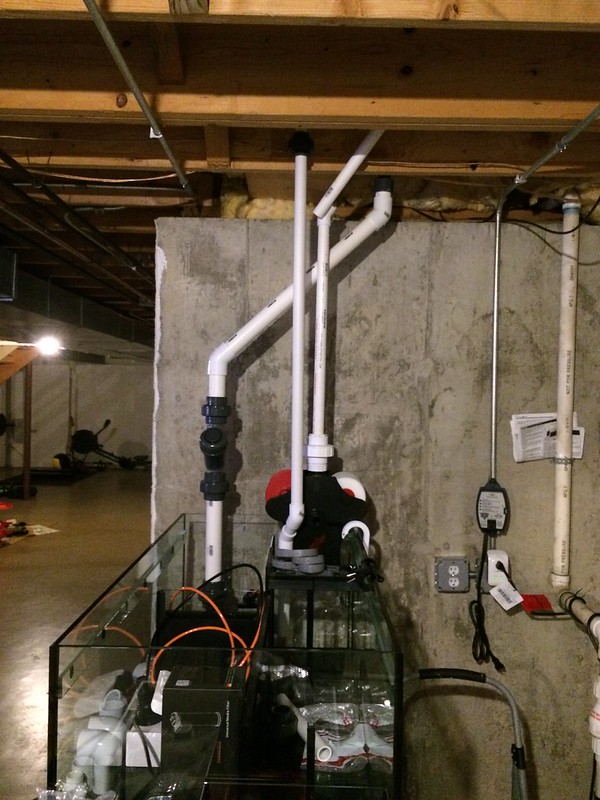
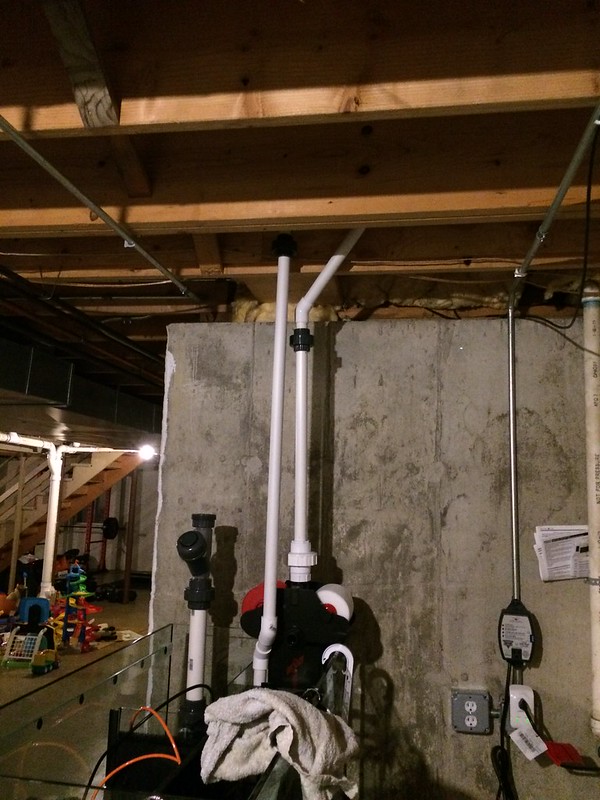
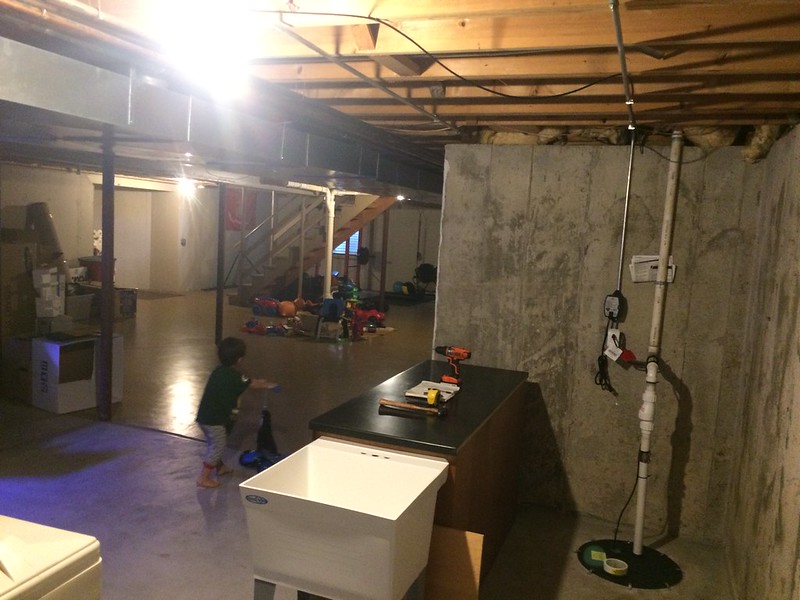
Basement sump setup plan will look something like this:

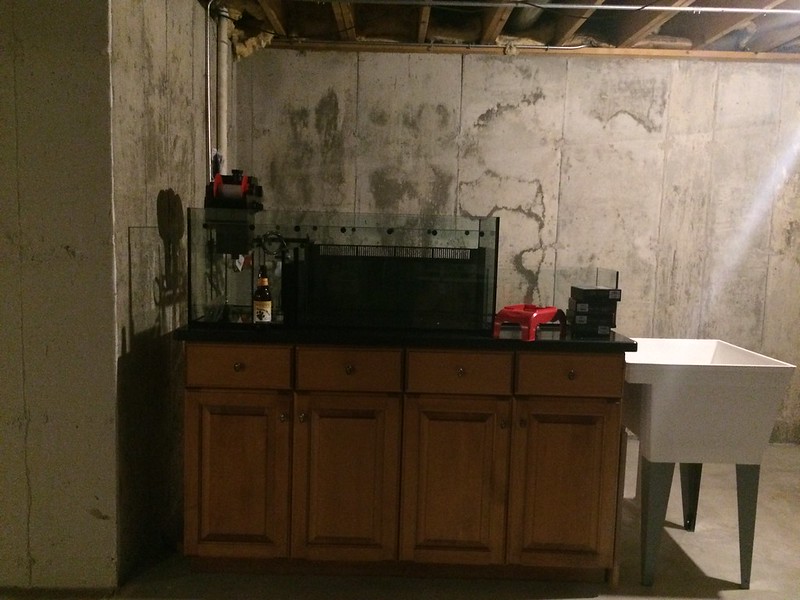
Peninsula sumps are the way of the future!

so much space for storage!


I currently have about 120lbs of live rock in my 90gl, and will be adding another 60-80lbs of live rock which is in a 20gl tank curing, already packed full of pods. Not sure I could add another lb of rock in there!


Planning on going bare bottom for this build.

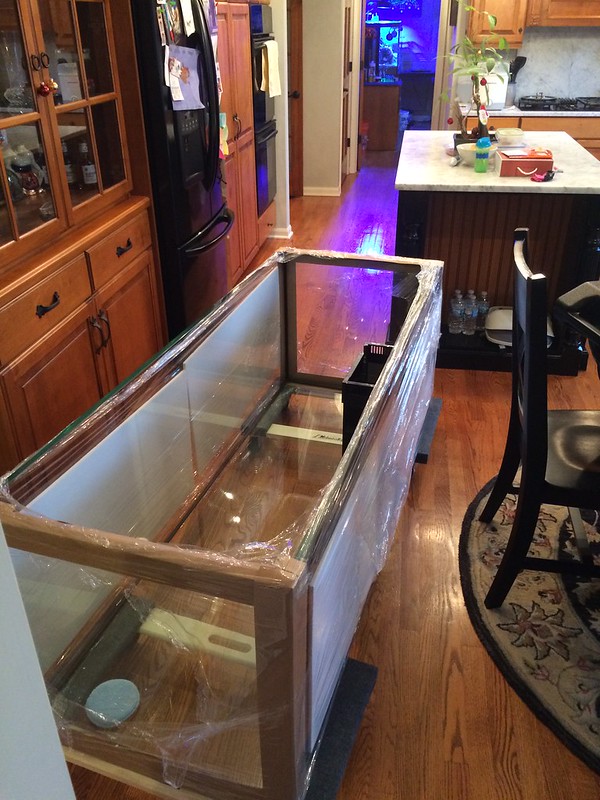
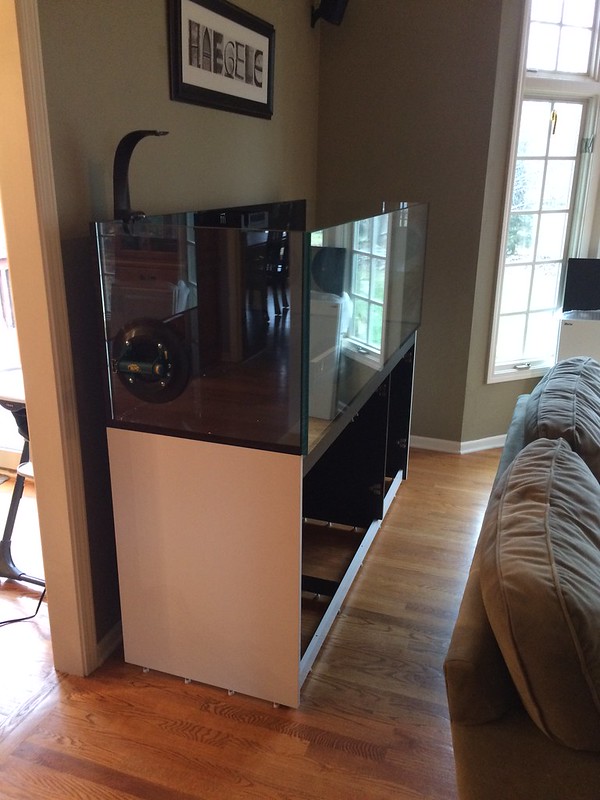
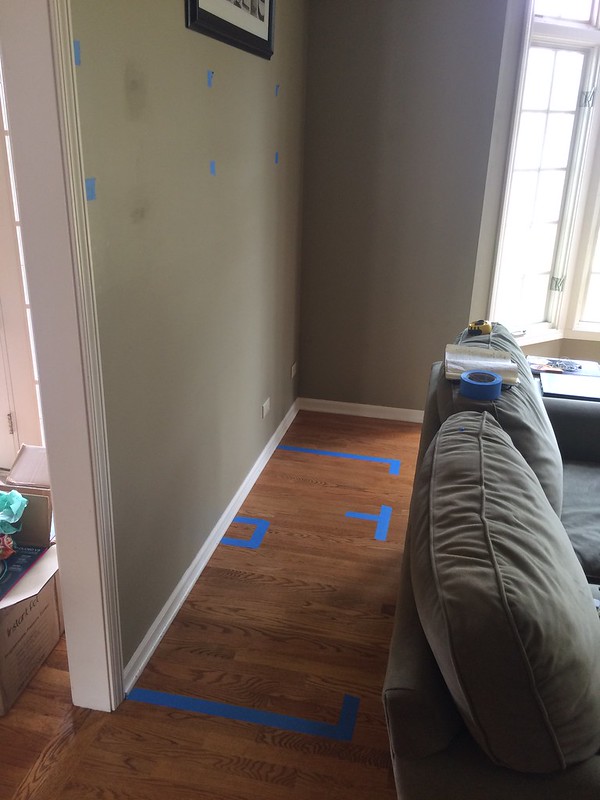
Found a place in the living room for the tank. bye bye nice floors!

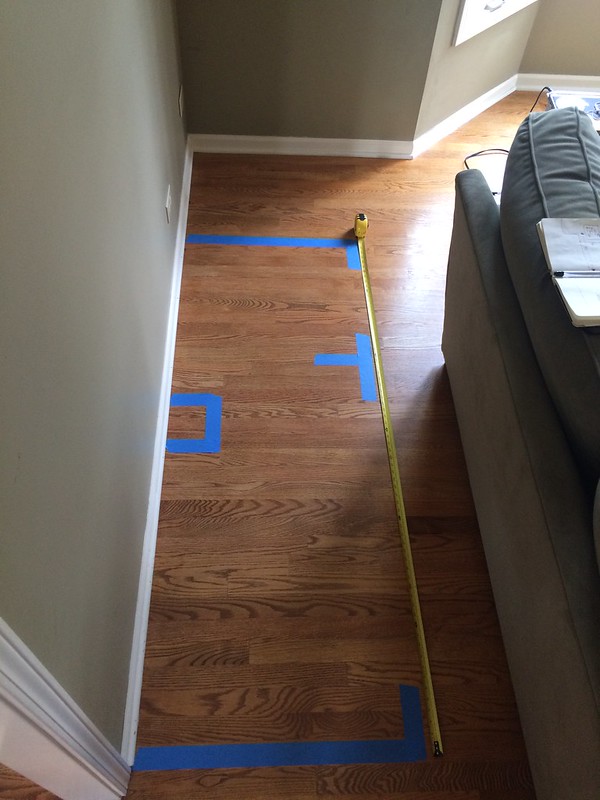
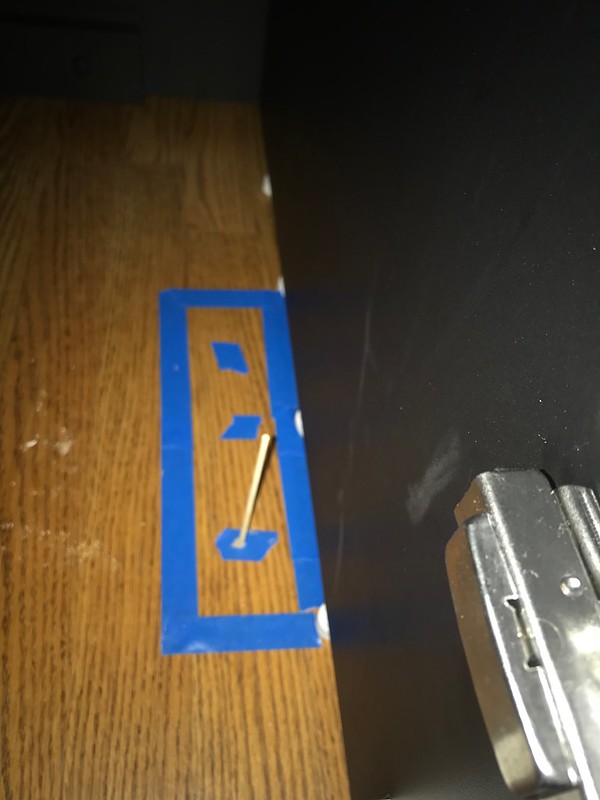
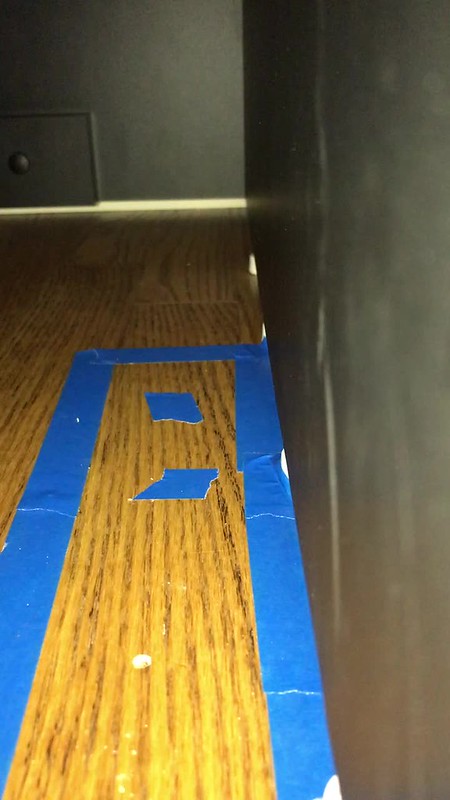
Walls were taped to mark the tank stand height, tank top, and light height, all so I could get an idea of how the tank will look before I moved 370lbs of glass in place. The floors will likely be drilled closer to the front of the stands so I can keep most of the factory plumbing that comes with the tank up towards the front of the stand, along with the gate valve for easier adjustments.


Stand is built! Lots of parts


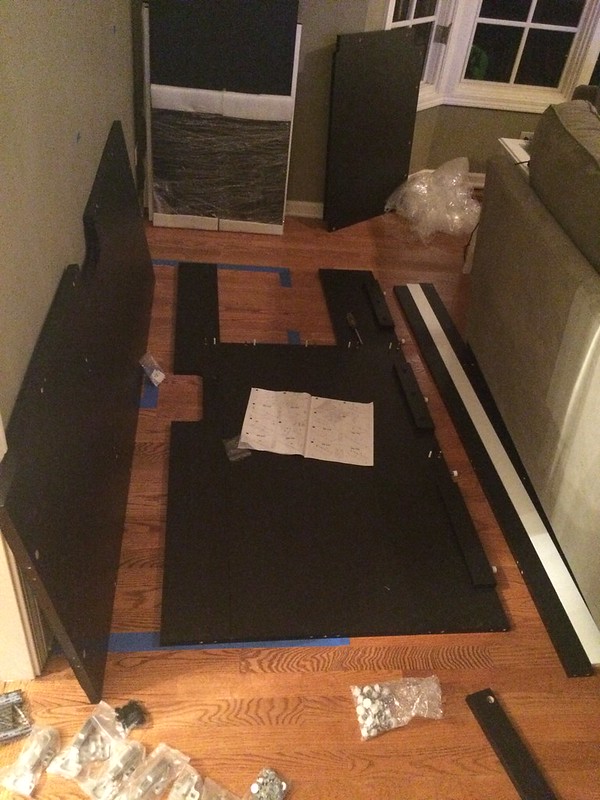
Doors to come once the electrician is done and the tank is on the stand. Still need to level it.


Build specs:
Tank: Red Sea reefer xxl 750
Corals: planning a mixed SPS / LPS reef
Lighting: 4 radion XR30 g4 pro's w/ their mounts. The reason I went with these vs multiples of the XR15s is that I already had 2, and picked up 2 more slightly used off the boards.
Flow: 2 MP40's on one end, 1 Gyre 250 on the other. Also using vivid's dual random flow generator for the return nozzles.
Main return pump: Abyzz A200
Sump: Using the 40gl that comes with the red sea tank. It will be in the basement, and more plumbing pic's to come once I get the tank up and running!
Theiling compact roller matt.
Life Reef Ca reactor will transfer from my current tank
Life Reef Media reactors will transfer from my current tank
Life Reef Skimmer will transfer from my current tank along with the c02 scrubber
Currently have a 20gl frag tank connected to my 90. If I can fit it on the stand, this will move next to the basement sump.
Currently have a 10gl refugium connected to my 90's sump. Planning on bringing this over to the new tanks sump, however not 100% sure yet as the new sump has a ton of room as is.
For control, I currently have a full apex setup on my 90 and will be transferring everything over. Eventually I would like to automate water changes.

Items I need to finalize
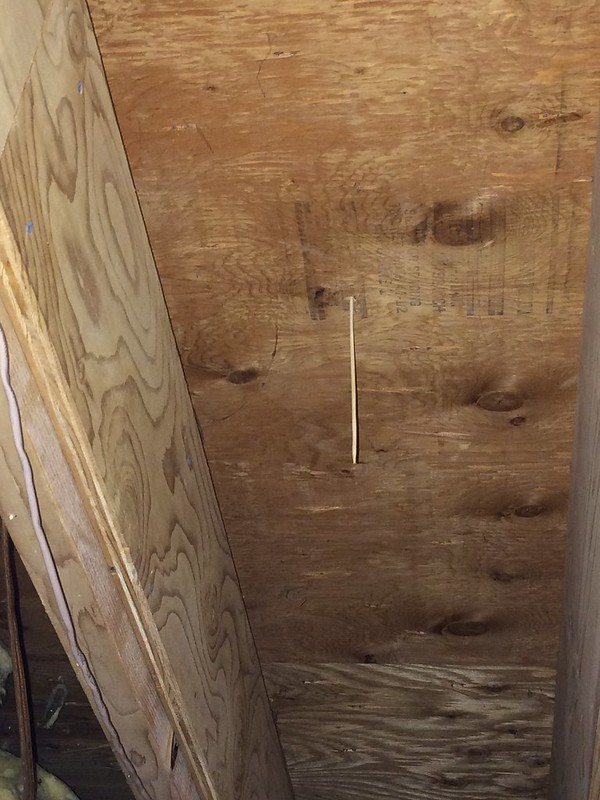
Basement ceiling / floor support. joists are 2x12's and will be parallel with the tank, so I still need someone out at the house to look and confirm for me I'll be good without additional support. Forum posts have gotten me some good info, appears they are good but I'd rather be 100% certain.
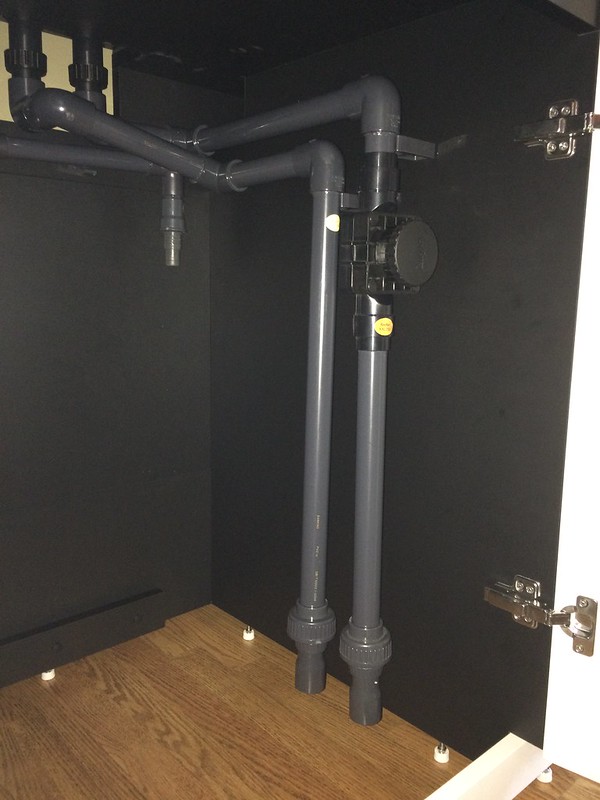
Plumbing: red sea parts are metric, sump is in the basement. Also, Abyzz pump outlet is 1.5", and will need to go up and downsize to a .75" connector.
Basement sump: will need to verify its enough and won't overflow
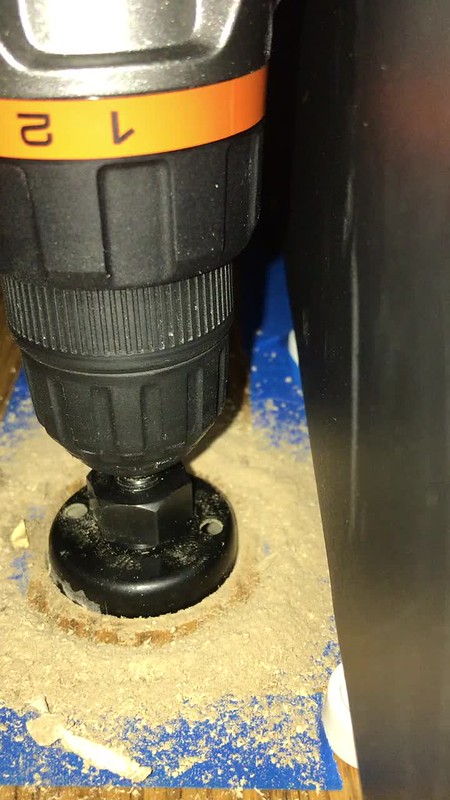
Drilling through wood floors: More to come on this. Already warned the wife, with promises this is for a near silent tank. With that said, hearing others red sea tanks with the sump in the cabinet tells me they are already pretty silent.
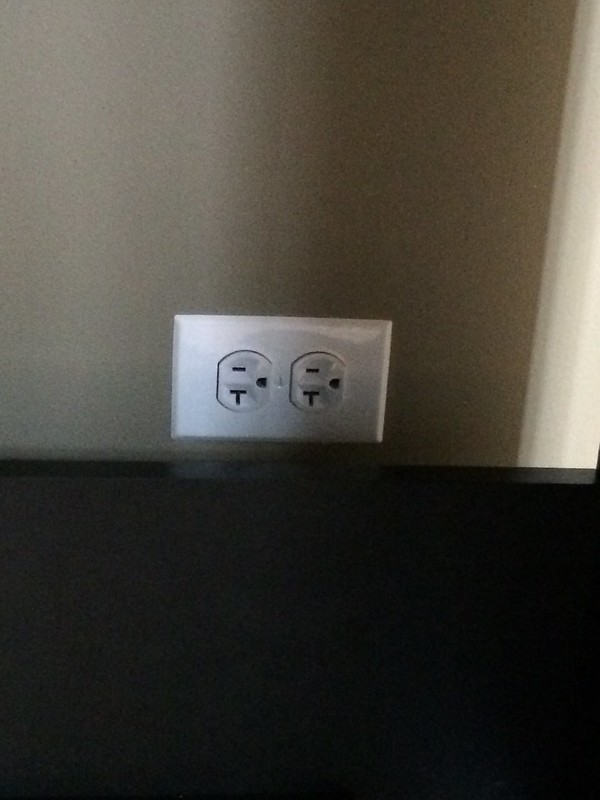
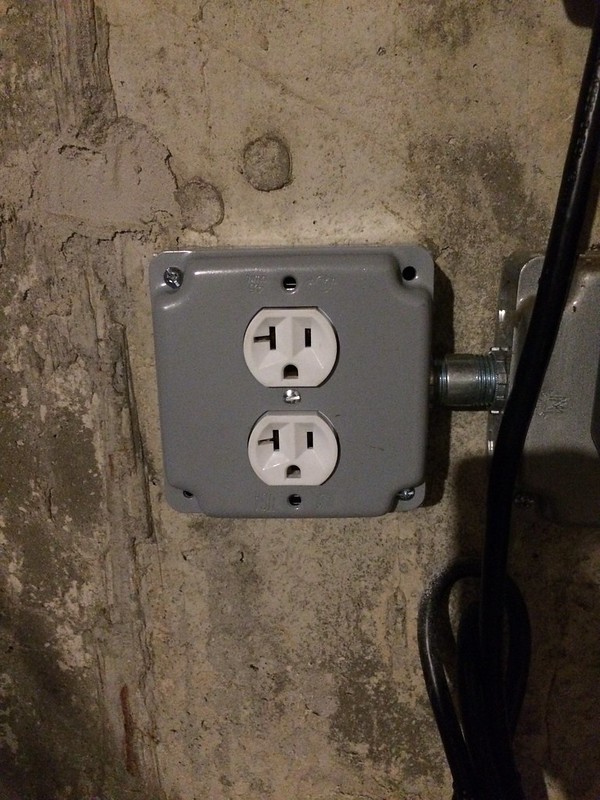
Electrician: Have one coming this thursday to return the living room outlet, adding some in the basement, and putting on their own dedicated circuit
Tank move plan: Best way to transfer, still need to determine. I think I'll get the new tank up and running, transfer over the inhabitants, bring over the skimmer, Ca Reactor, doser, apex, start testing more frequently until I get the #'s dialed in and go from there.
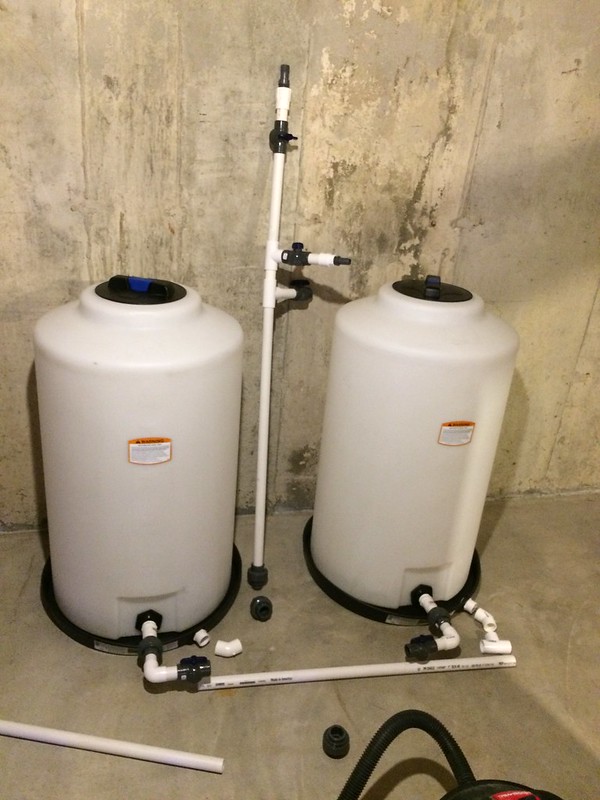
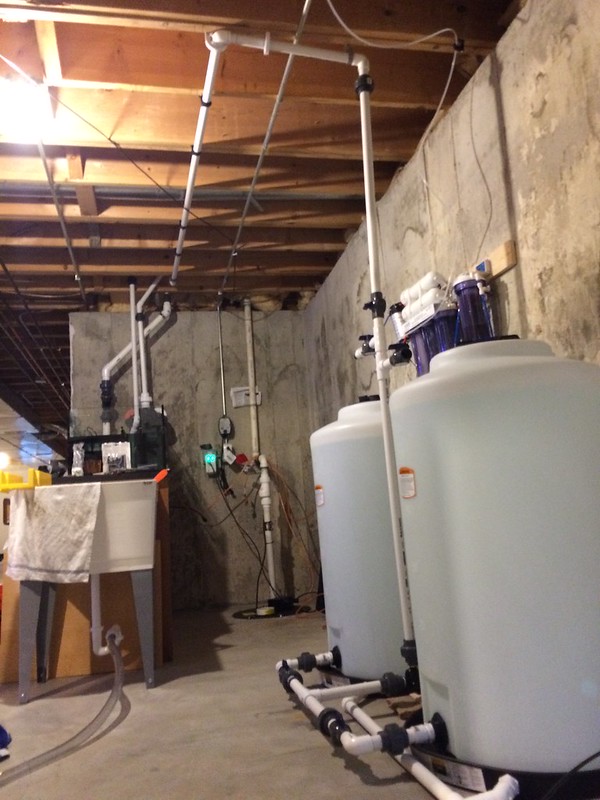
I already have a RODI station in the basement setup a year ago. I plan to get bigger water tanks for this, add a pump and a line from the basement to the tank upstairs for easier water changes.

Thats it for now! Lots more to come in the next few months! Thanks for looking!

-Eric
 

ESH

Premium member
Same for me! I went back and forth on tank sizes, debated going larger, in the end went with this one due to availability, product info from the manufacturer, as well as all the info around others builds across the different forums. This has all helped significantly with planning but there has still been a lot of in answered questions for me. The plumbing for example, is great if you want an out of the box solution, but isn’t as cut and dry if you want to relocate the sump. For the price though, I couldn’t beat the sale they had this past Black Friday. I did get the tank through BRS, and was able to basically buy the tank with prepaid $90 for $100 gift cards, which saved me even more. Any dollars you can save in this hobby and put elsewhere go a long way.
 

Fish_wiz2

Active member
Build is already off to an amazing start! My buddy just got the exact same tank too, we just voided the warranty by drilling two holes in the back of the stand to get to the fish room behind the tank. Good idea taking the bottom panel out. Not a huge fan of the stand myself but the finish is pretty.

Pro tip, order metric to standard fittings now. Red Sea's proprietary fittings SUCK and without these converters, good luck trying to get a standard PVC attached to it without fencos.
 

ESH

Premium member
Got all the fittings from brs on order. The return line converts to 3/4, the overflows to 1".

Sump is basically a rimless glass 40 gallon tank, U shape flow pattern. The 5gl ATO sits on top, gravity fed. Under the stand you just slide it around to access different sections, however it is kind of useless for the size of tank that it is. My 90 evaps about 7-10 gallons a week so I can only imagine what this one will.
 

Mjl714

Well-known member
Agree on the sump, depending on the time of the year, my 75’s evaporate 10gal’s in 6-8 days.
 

ultimatemj

Active member
Agree on the sump, depending on the time of the year, my 75’s evaporate 10gal’s in 6-8 days.
This was something that drove me nuts, in particular when I had the sump under the stand and would travel for work.

Once, after coming back from a 2wk trip, I came home to a return pump sucking air, the APEX temp sensor measuring ambient temp, and the heaters ON because the temp wasn't changing! Nearly cooked everything. For a while I would get someone to refill the container while I was gone...got old real quick.

Now, I too have a basement fishroom beneath the display in the family room above, and found a solution that has made this a twice a year maintenance (when I do RODI maintenance).

The Avast Barrel Tender, it refills the ATO container directly from RODI. The key here being that you don't want an RODI to turn on and off a lot, so you don't want to hook your ATO up to it. The Barrel Tender is purely to keep the ATO container full. When it is close to empty, it runs until refilled, and then is off for how ever many days that supply last. I think mine is running for ~10min every 4 days.

Here's a crude diagram
View attachment 25986

Not in the diagram is the APEX, which has various fail safes programmed. And the SmartATO that was used as a redundancy/failsafe and is not online anymore. I had there because the ATO is pushing through the Kalk reactor and the PH spike can spike...so I have the APEX is setup to turn off the primary ATO for 30min when PH is above 8.4. So the Smart ATO would only come on if the PH stayed high (keeping the primary ATO off) and evaporation dropped the water level near the sensor and pump level.

Having the sump in the basement has been so much more reliable than when I had it under the stand. :megaman:

Have fun with your new build!
 

ESH

Premium member
Thanks for the info!

On a side note, just discovered farm and fleet sells those 65gallon water storage tanks, $130 or so each. Picked up 2 so I can upgrade from my 2, 30 gallon storage containers. Believe they have a deal where you get a $10 gift card through this weekend for every $100 spent.
 

ESH

Premium member
Some progress!
Picked up 2 65 gallon containers to upgrade and build out my mixing station. I'll use the station and run a line from the basement to the display tank. No more buckets to haul! $120some dollars from Farm and fleet. wish I went there for these vs the 30 gallon ones I currently have from tractor supply. Only a $20 or $30 price difference, plus they were running a $10 gift card deal for every $100 spent.


Electrician came in today. The living room wires needed to be redone, as the outlet for the tank was connected with all the others, where previously the wall switch controlled plug in devices, now this particular one has its own dedicated 20amp circuit. Debated on using a GFCI, and decided not to. I travel a lot, and did not want this getting in the way of things. The tank will have a grounding probe.
So the display tank with power 4 lights, and 3 powerheads in the tank.

And added another 20amp circuit for the basement sump room, again opted against the GFCI as per the electricians recommendation. Wires were able to be pulled through the conduit where the house sump pump plugs into, so had this not been explained to me by the electrician I would have thought he just tied into that one. Pretty cool to see all the tricks they have for pulling wire through conduit and figuring out how everything is tied together.

Breaker box


More plumbing parts arrived! BRS sells metric to standard PVC conversion fittings, the trick is they don't sell metric couplings. No clue why, and it took me a few weeks to find a place who sold them. Turns out you can buy them directly from coral vue. I picked up some 25, and 32mm couplings, some 32mm pipe, and a few extra conversion fittings. Always good to have 1 or two extra on hand.


Last update for today. The tanks been sitting in my garage,it keeps getting colder, and I was able to use the crate that the tank came in to build a ramp up a few steps, allowing me to roll the tank into the house. Definitely wasn't easy, and there were a few o sh$$ moments, but in the end I managed to get the tank in the house myself. Definitely going to have to find help when its time to lift the tank on the stand, already got a few posts on local boards (this one included) to see if we can get the tank moved on the stand this Saturday, or sometime in the next week.

effective weight balancing act here and a stuck wheel saved the dolly and the tank. Those suction cups were very useful for lifting the tank and having a free hand to move the dolly. Kicking it also helped :)


The crate ramp. Tank is 370, I weigh 215 and jumped on it a bunch to make sure it was solid enough, found a few weak points and reinforced before moving the tank up the ramp.

Sitting in the hallway waiting to get lifted on the stand


Getting closer to being setup!
 

ESH

Premium member
Family showed up early, so I put them to work. Tank is on the stand!

Maneuvering through the kitchen

Into the living room

& Up on the stand
 

ESH

Premium member
More progress!

This next part had me scared. I think I've spent the last week looking up hardwood floor This Old House repair videos on Youtube. Once I saw enough, I was convinced that drilling the floors wasn't going to give me a heart attack.

Step 1, test place the drains, and mark where I need to drill. In the photo, you can see a metric coupling purchased from coral vue, with a metric to standard conversion fitting underneath. This gave me an idea of where the pipes will go.

I double checked alignment, and verified the board length, made sure the tank was square to one of the boards so if I ever had to replace it, I can take the old board out and put a new one in, sand and stain.
The big unknown, was where this spot aligned with the basement floor joists. Time to drill a pilot hole.

The first time I did this, I couldn't even see where it went through. I forgot that the hardwood was 3/4", and the subfloor is also 3/4". So I found a dowel rod and poked it through. Back to the basement!

Success!!! This made me really happy. The center of the first hole was about 5" from one of the joists, allowing me to get 2 more holes drilled around it. I need 4 total. 2x for drain, 1 for return, and a forth for the water change line.

Got everything taped off for the first 2 holes.


Here goes nothing! Video cutting through the hardwood. Hope these videos work
IMG_1234 by E, on Flickr
Cutting the subfloor
IMG_1235 by E, on Flickr
Success!
IMG_1236 by E, on Flickr

The wife even said, that worked out better than she expected. Good sign!
Got the rest of the holes drilled


Back one is for the return, had to be cut further away due to a joist. Middle 2 are for the drains. Front one will be for a line from my water change station to the tank. Holes don't currently perfectly aling, I'll have to move the stand over slightly, but otherwise this turned out awesome!


Time to drink a beer or 2!
 

ESH

Premium member
More progress! This thing is basically a puzzle trying to figure out how to reconfigure the plumbing while figuring out the right pipe lengths and fittings to use.

Water Change station: Got the 2 65gallon tanks on some water heater emergency drain pans. These will get plumbed together and routed to the floor drain. I figure it will catch drips, and if anything ever happens maybe it will help route the water to the floor drain. Waiting on the mixing pump to arrive before I finish this up. Pipes are 1", lots of couplings and valves to change up the flow of things. Also 1 valve for doing water changes in the basement, the main run will go up stairs to the display tank.


Upstairs plumbing is attached.


Basement nearly complete


Added in additional couplings for the drains. Should help with any future maintenance


Currently waiting on some ratchet clamps to connect the return flex line to the tanks plumbing, the mixing station pump and some new heaters. My current RODI Station will get relocated next to the new tanks, and then I can start filling the new tanks and get to filling up the tank and checking all the pipes for leaks.
 

ESH

Premium member
Water Change station setup, plumbed in and works well! Im using a panworld 100px to pump water upstairs.


Sump leak tested and looking good! Holds 40 gallons with room to spare.


Water getting pumped upstairs! Works well. 140 in so far, waiting on the rest of the water to get made. During the first test, I found out I forgot to clamp down a union in the basement and had a bit of a fountain going on for a few seconds. Glad that's all it was!
 

ultimatemj

Active member
Oh man!

Looks great, but I wish I would have told you about SpaFlex/Tigerflex before you did all that! Sooo much easier


Sent from my iPhone using Tapatalk
 

ESH

Premium member
Tank is full, salt is in, testing out a few lights and one of the new pumps. Placement of the pump and the awesome looking cord is only temporary.


Lots of things on the To Do list still. Electrical items need to get setup and organized. Need to setup the ATO - the tank appears to be evaping about 1 gallon a day. Tank is pretty silent but still needs constant valve adjustments. Really glad I left the stock one in place where its located as it makes for incredible easy adjustments. I'll get random surge sounds from the primary drain and not 100% sure why yet. Otherwise, the fans from the lights are louder than the tank. This is a huge difference from my 90gallon.
 

goat585

Administrator
Tank is full, salt is in, testing out a few lights and one of the new pumps. Placement of the pump and the awesome looking cord is only temporary.


Lots of things on the To Do list still. Electrical items need to get setup and organized. Need to setup the ATO - the tank appears to be evaping about 1 gallon a day. Tank is pretty silent but still needs constant valve adjustments. Really glad I left the stock one in place where its located as it makes for incredible easy adjustments. I'll get random surge sounds from the primary drain and not 100% sure why yet. Otherwise, the fans from the lights are louder than the tank. This is a huge difference from my 90gallon.
I love this build. It looks awesome. You will love having the basement sump. It makes things so much easier and you have space to add things if you need to.
 
Top